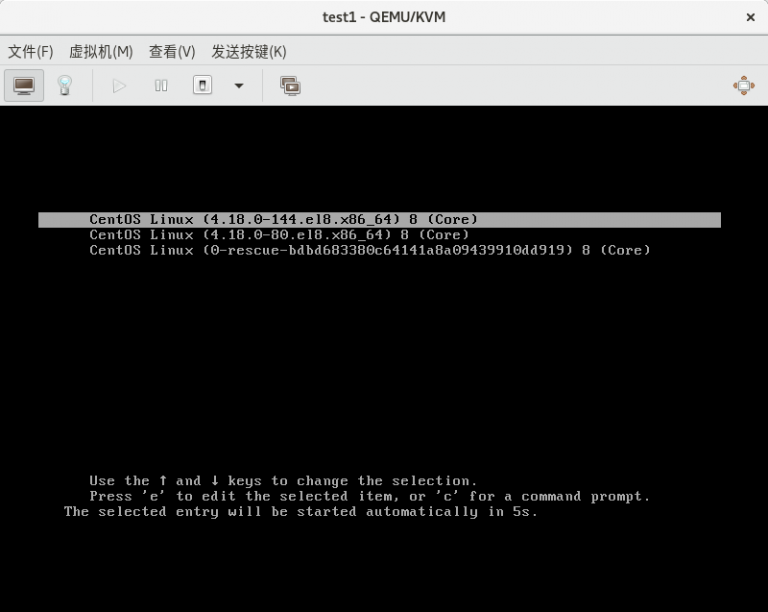
步骤一:进入内核编辑界面
重启系统,进入内核选择界面,此时按下 “e” 键进入内核编辑界面
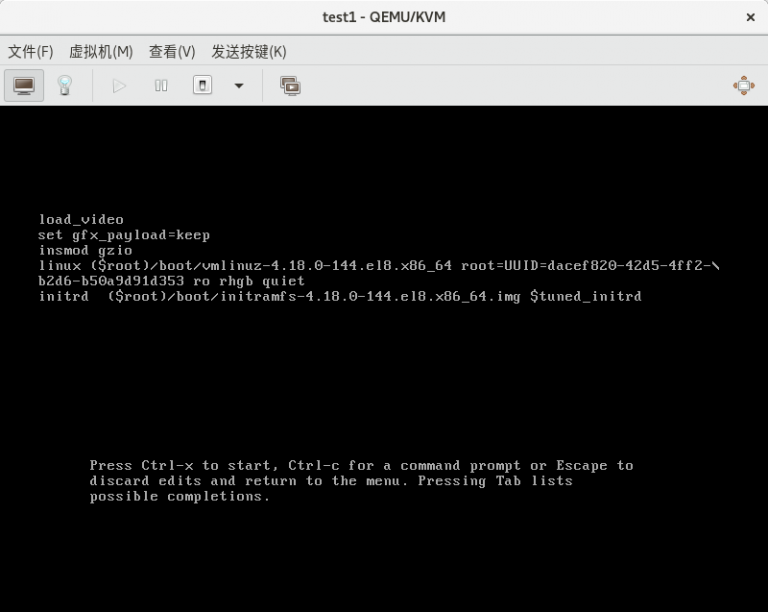
步骤二:修改内核参数
在 linux 开头的这 1 行将 “ro rhgb quiet” 对应位置的参数修改为 “rd.break enforcing=0”
或者:
这一步也可以换成直接在 linux 开头的这 1 行末尾添加 “rd.break console=tty0”
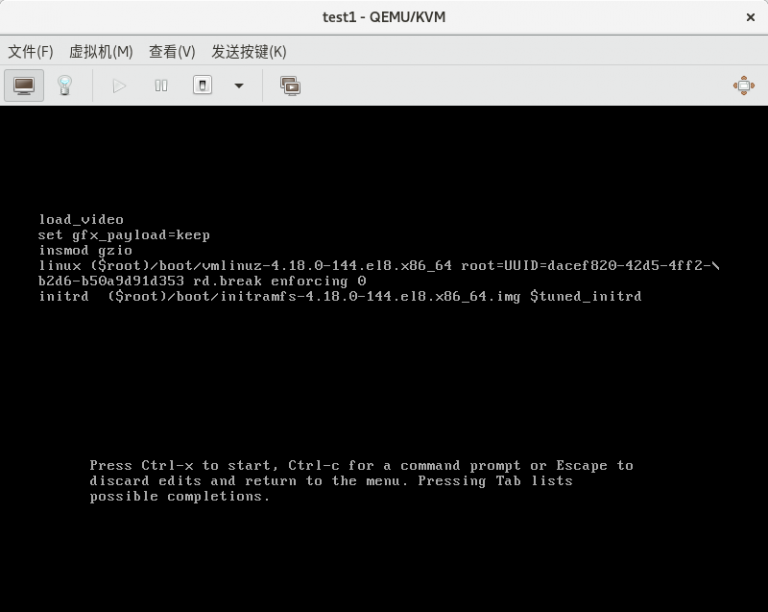
步骤三:进入修改后的内核
同时按下 “ctrl” 键和 “x” 键
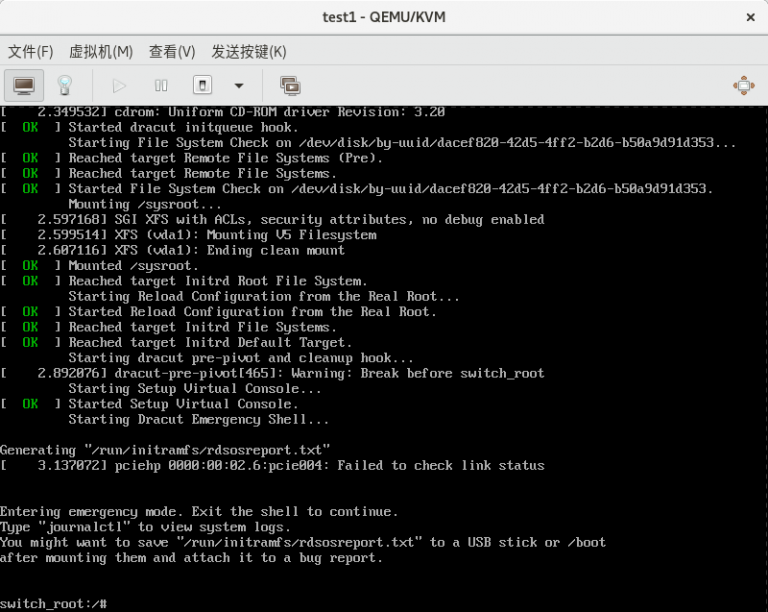
步骤四:修改 root 密码
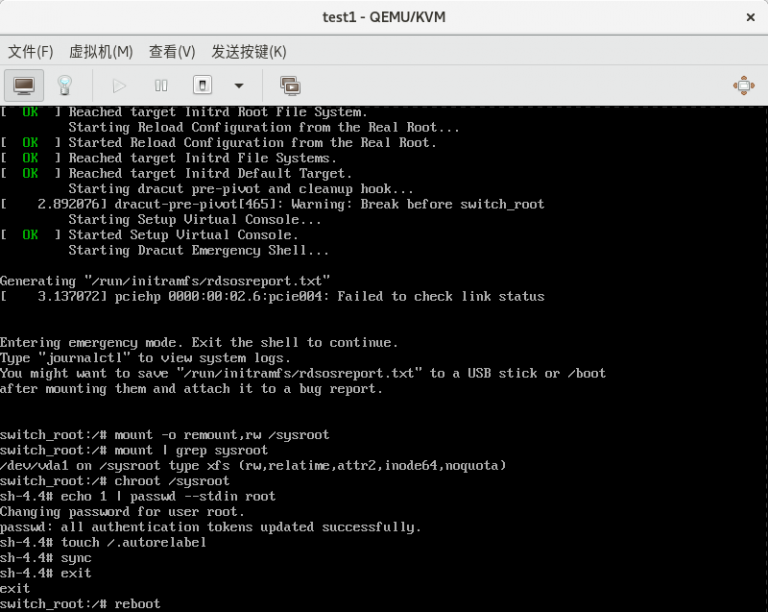
4.1 重新挂载 sysroot 目录并给予读写权限
switch_root:/# mount -o remount,rw /sysroot4.2 确认 sysroot 已经挂载
switch_root:/# mount | grep sysroot4.3 将当前根目录切换为 /sysroot
switch_root:/# chroot /sysroot4.3 修改 root 密码
sh-4.4# echo 1 | passwd --stdin root(补充:以上命令的作用是在修改的内核中,将 root 的密码修改为 1,并重启)
4.4 创建修改标签
sh-4.4# touch /.autorelabel4.5 同步
sh-4.4# sync4.6 退出将 /sysroot 目录视为根目录
sh-4.4# exit4.7 重启系统
switch_root:/# reboot